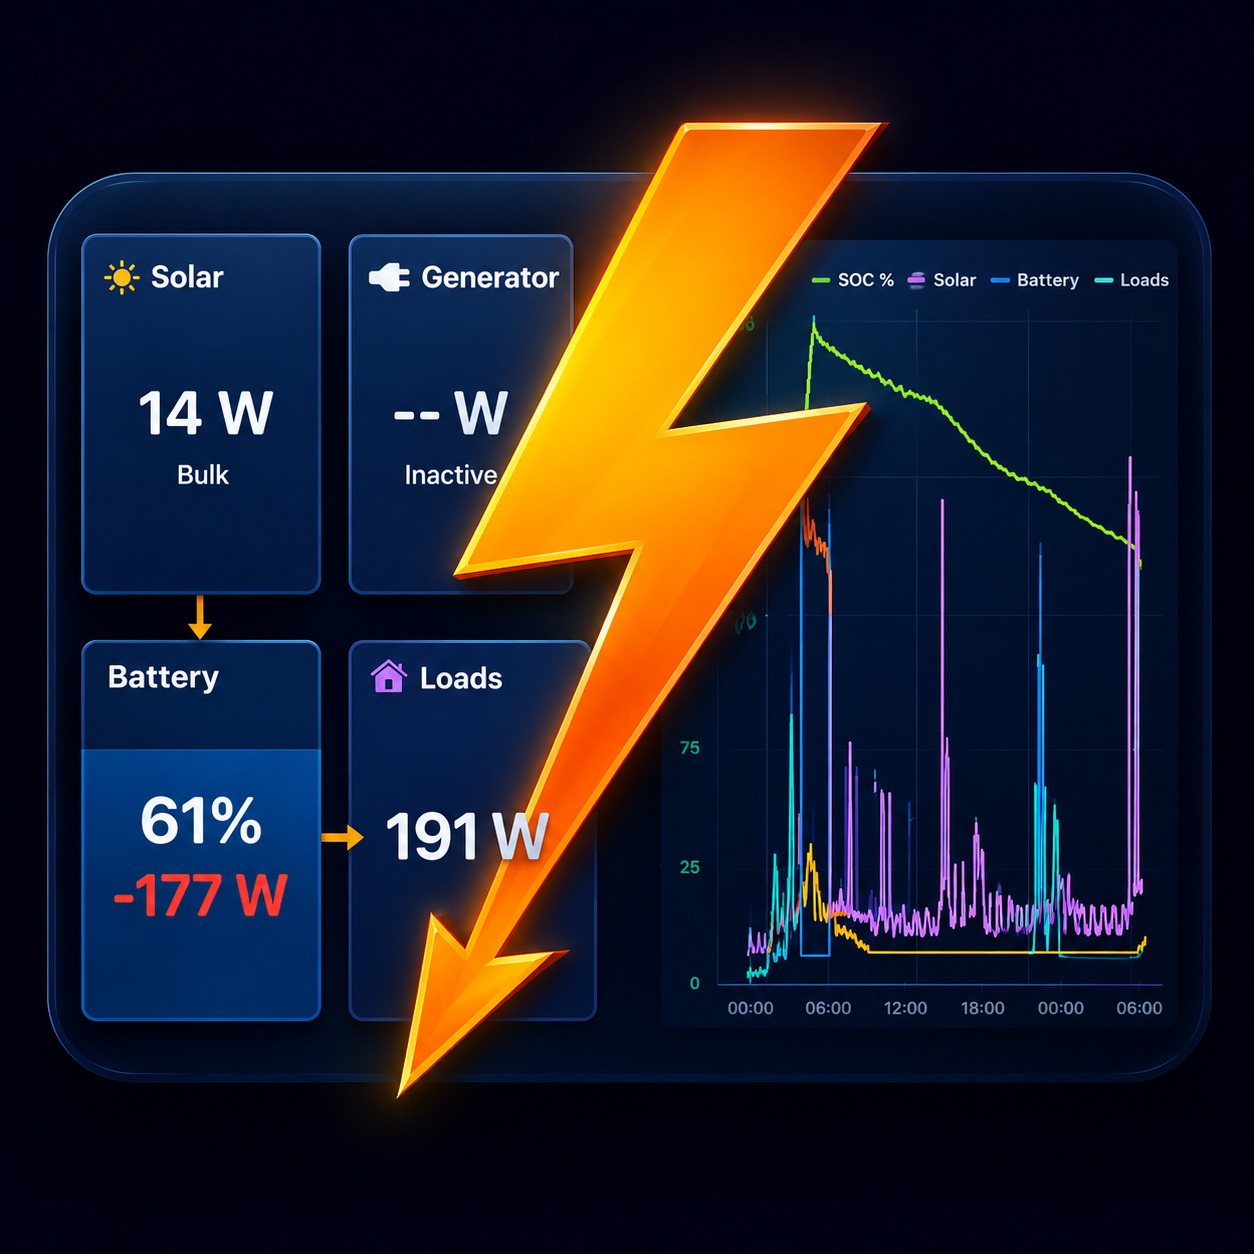
Build your own radar tank sensor.
A wireless tank level sensor that reads through the tank wall with 60 GHz radar. No holes drilled, no wiring, no connections to solder. Four off-the-shelf parts, the free Boardstrom firmware, and about 30 minutes.
Works with the free Boardstrom app on iPhone, iPad, and Android.
Top-mounted radar: no hole, no crawling under the tank.
The sensor sits on top of your fresh, grey, or black water tank and measures the distance down to the liquid surface, straight through the plastic wall and the air above the water. That's the trick radar brings: ultrasonic sensors can't cross the air gap from the top without a hole or port in the tank, and bottom-mounted ones need clear access underneath. 60 GHz radar reads through a non-metal wall from above, so the tank stays untouched and the mounting spot is wherever you can reach. It broadcasts the level over Bluetooth about once a minute and runs for years on one coin cell. The Boardstrom app turns the raw distance into a fill percentage with a one-time calibration.
The parts (about $90 per sensor)
Everything is off the shelf from Digi-Key or Mouser. The flashing board is a one-time tool: you need it once, then every sensor after that costs about $90 in parts.
| Part | What it is | ~Price | Buy | |
|---|---|---|---|---|
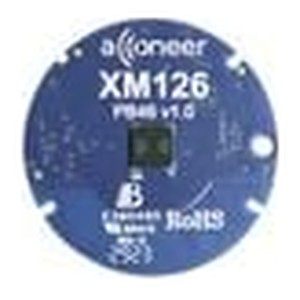 |
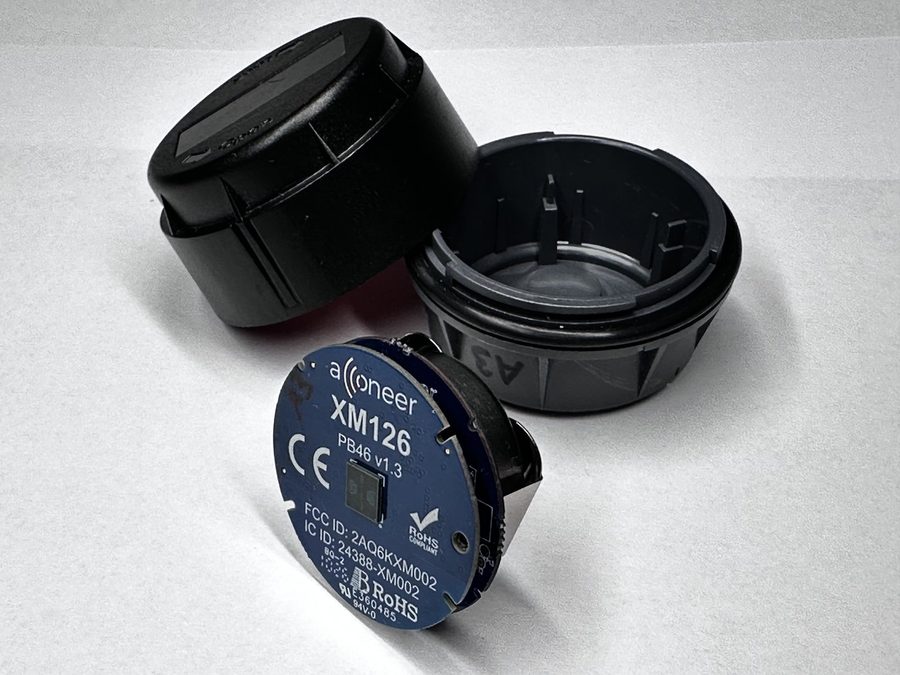
Acconeer XM126 | The brains: 60 GHz radar + Bluetooth on one round module. Acconeer product page. | $34 | Digi-Key · Mouser |
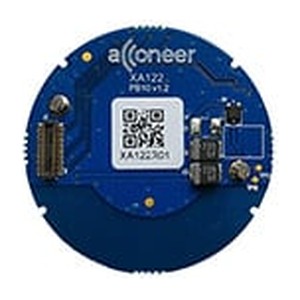 |
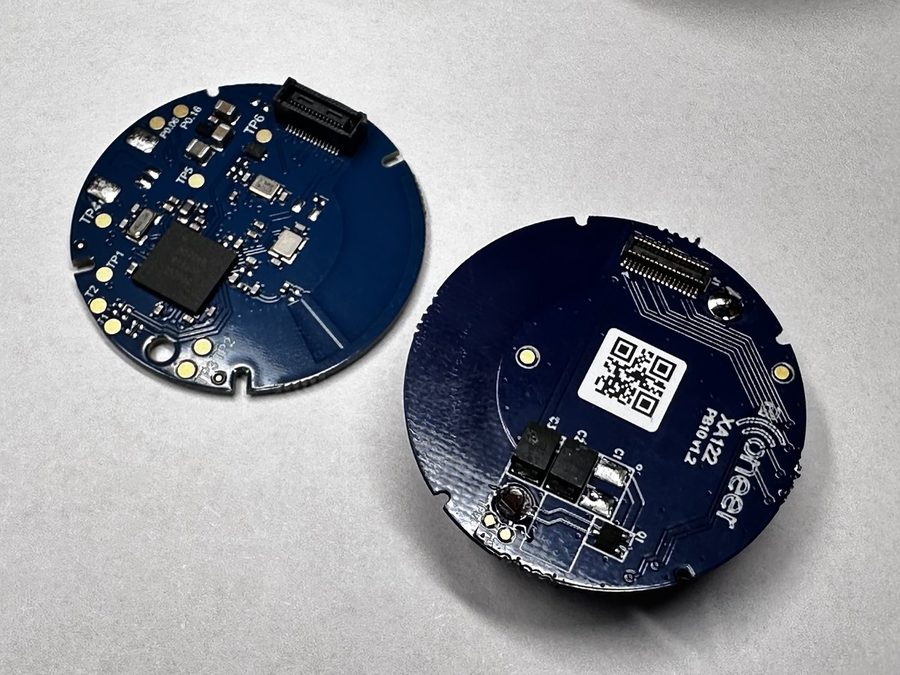
Acconeer XA122 | Battery board the module snaps onto. Stock can run thin at Digi-Key; check Mouser too. Acconeer product brief. | $16 | Digi-Key · Mouser |
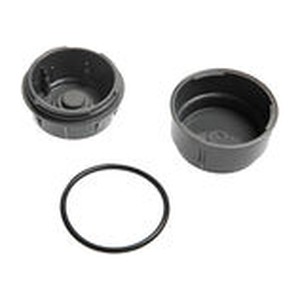 |
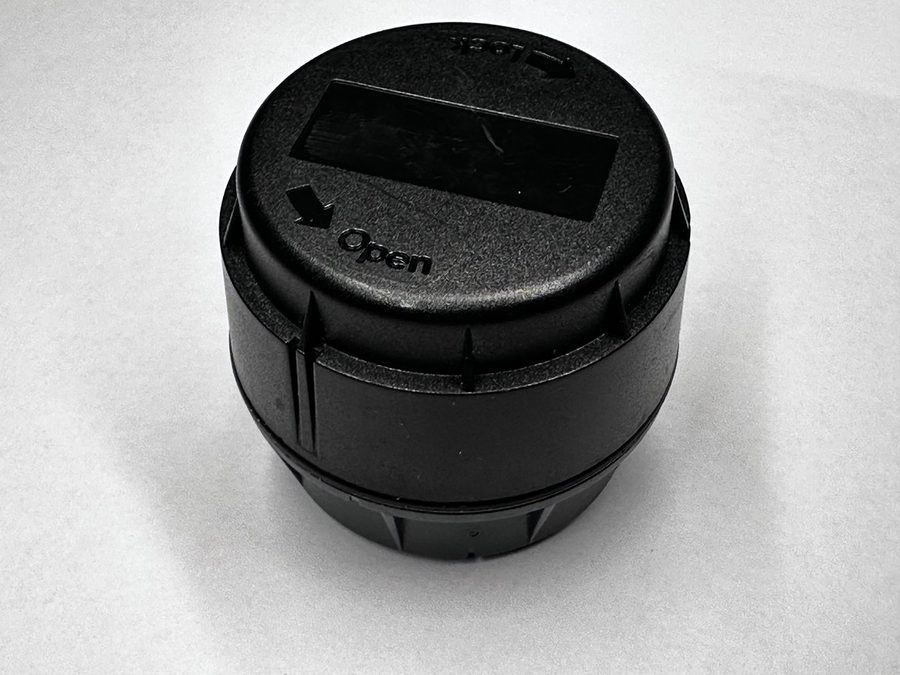
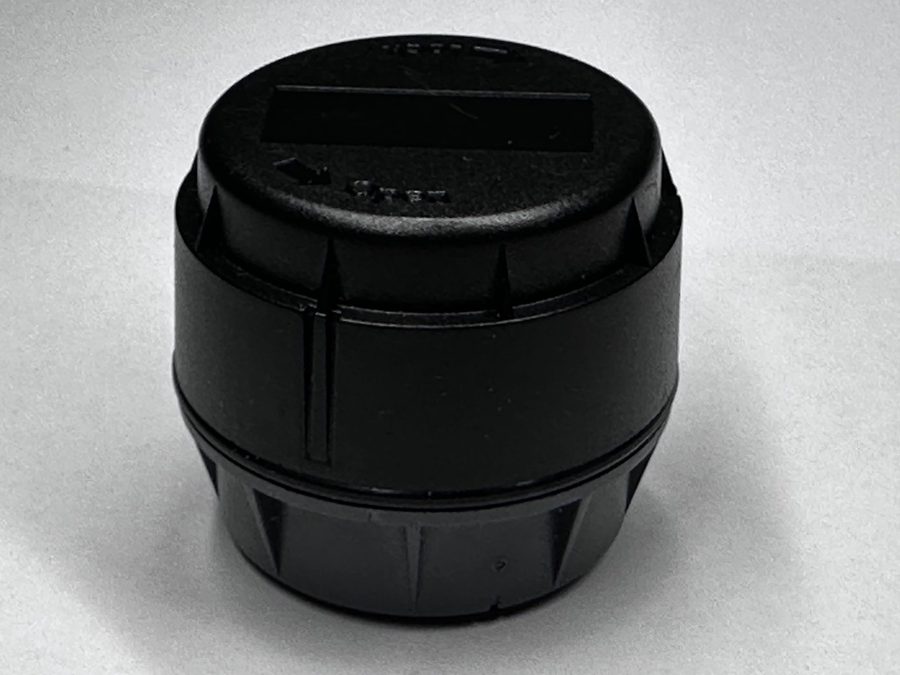
Acconeer CA122-FZP or CA122-FL | Waterproof (IP66) puck casing. As of firmware v1.0.0-beta.2 both lids read correctly, so pick on fit: the CA122-FZP lens lid (shown here) or the flat CA122-FL — handy when there's little clearance above the tank. Assembled sensor: 45 mm (1.8 in) across, and 40 mm (1.6 in) tall with the lens lid or 33 mm (1.3 in) with the flat lid (per the CA122 datasheet). Both run about $36. Acconeer products. | ~$36 | FZP (lens): Digi-Key · Mouser FL (flat): Digi-Key · Mouser |
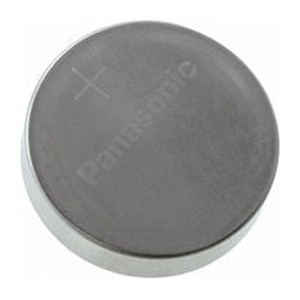 |
CR2477 coin cell | The battery. Use a brand-name cell (Panasonic, Renata) for the full multi-year life. | $5 | Amazon |
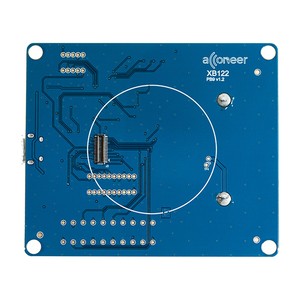 |
Acconeer XB122 | Flashing board (one-time tool, reused for every sensor you build). Plus a micro-USB cable. Acconeer product brief. | $106 | Digi-Key · Mouser |
Flash the Boardstrom firmware
The firmware is free. You flash it once onto the XM126 using the XB122 board, a micro-USB cable, and Acconeer's free flash tool (a small Python program).
Install the flash tool
Install Python 3 if you don't have it (on Windows, tick "Add Python to PATH" in the installer). Then, in a terminal:
Windows:
python -m pip install --upgrade acconeer-exptool[app]
Mac: recent macOS versions only allow pip installs inside a virtual environment, and the quotes around the package name matter (the Mac shell otherwise misreads the brackets):
python3 -m venv .venv && source .venv/bin/activatepython3 -m pip install --upgrade 'acconeer-exptool[app]'
The [app] part is required either way; without it the flash tool later fails with "No module named 'bs4'".
Download the firmware
Download the latest boardstrom_tank_beacon.signed.bin from the releases page. Each release lists a SHA-256 checksum you can verify.
Connect the module
Snap the XM126 onto the board-to-board connector on the top of the XB122, set the XB122's power switch to USB, and plug it into your computer. Note the serial port it gets: on Windows it's a COM port (Device Manager → Ports, e.g. COM6); on Mac it appears as /dev/tty.usbserial-….
Flash
In the terminal, from the folder with the downloaded file (replace the port with yours; the device is always XM126, the radar module, not the flash board; on Mac, run this in the same terminal where you activated the virtual environment):
- Windows:
python -m acconeer.exptool.flash flash XM126 -p COM6 --image boardstrom_tank_beacon.signed.bin - Mac:
python3 -m acconeer.exptool.flash flash XM126 -p /dev/tty.usbserial-XXXXX --image boardstrom_tank_beacon.signed.bin
If the tool answers unrecognized arguments: XM126 -p, your flash tool is an older version: either update it (python -m pip install --upgrade "acconeer-exptool[app]", then use the command above) or use the older form flash --device XM126 --port COM6 --image boardstrom_tank_beacon.signed.bin. python -m acconeer.exptool.flash flash --help shows which form your version wants. On Windows, if python stops being recognised after a reinstall, py -m ... works the same.
The tool takes care of putting the module into bootloader mode. If it can't find the module, hold the DFU button on the XB122, press and release NRST, release DFU, and run the command again.
Check it's alive
Open the Boardstrom app. Within a minute a new device called Tank … appears under Settings → Devices. That's your sensor broadcasting.
Snap it together
Module onto the battery board
Unplug the XM126 from the flashing board and snap it onto the XA122 battery board: the small board-to-board connectors mate face to face.
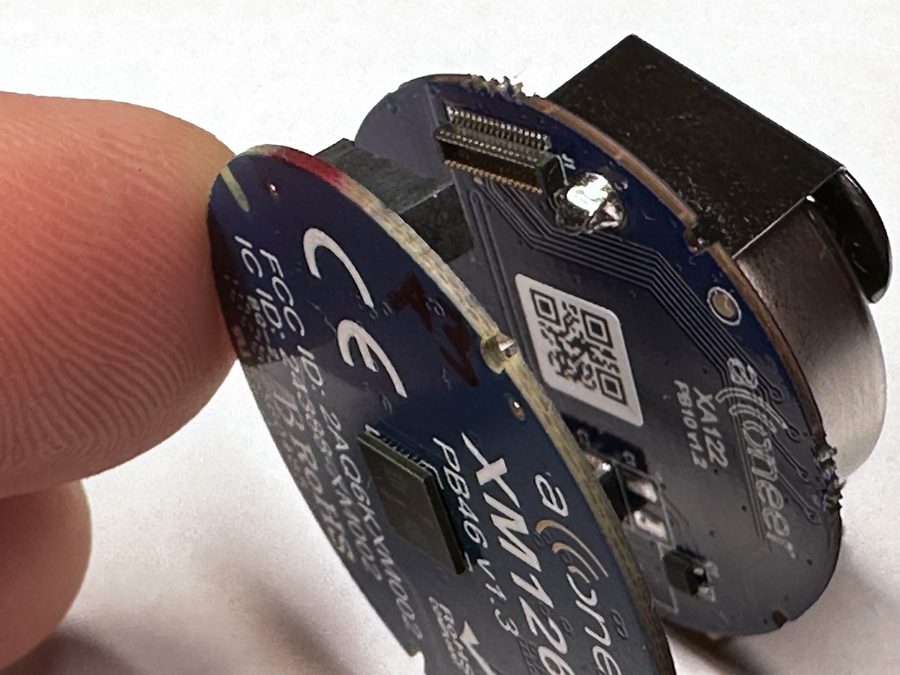
Into the casing, then the CR2477
Drop the stack into the CA122 casing with the battery holder facing up, and slide the CR2477 into the holder — positive (+) side up, per the marking. The sensor starts broadcasting immediately.
If it doesn't start: check the battery pad. On our XA122 boards the center (negative) pad under the cell came from the factory as bare, untinned copper. The cell makes poor contact on bare copper (high resistance), and the radar never starts. The fix is simple if you have a soldering iron: apply flux to the center pad and tin it with a thin, even layer of solder, then re-seat the cell. This is the one known exception to "no soldering", and checking the pad before assembly saves you the puzzle.
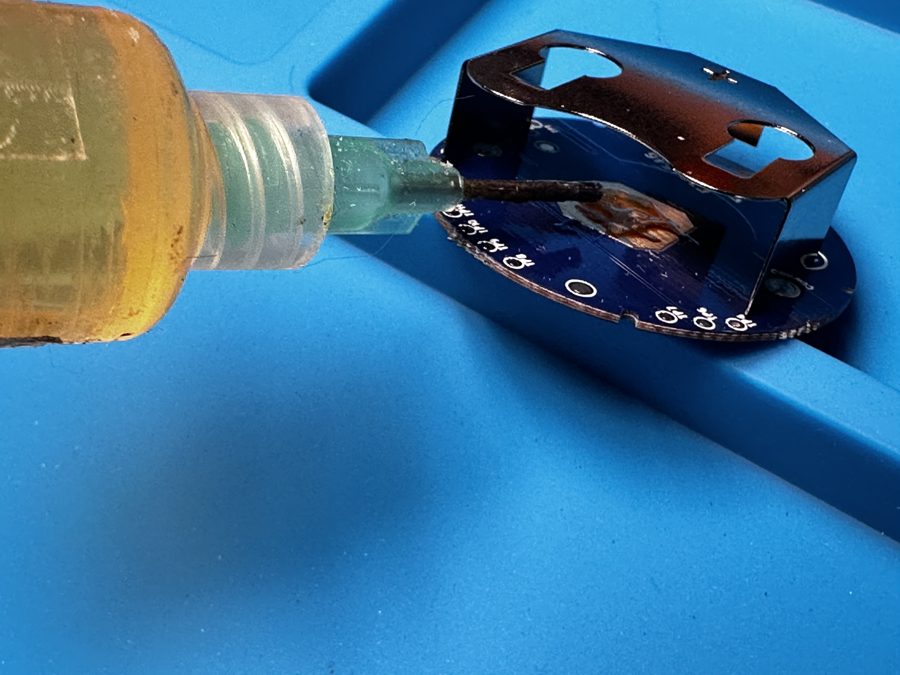
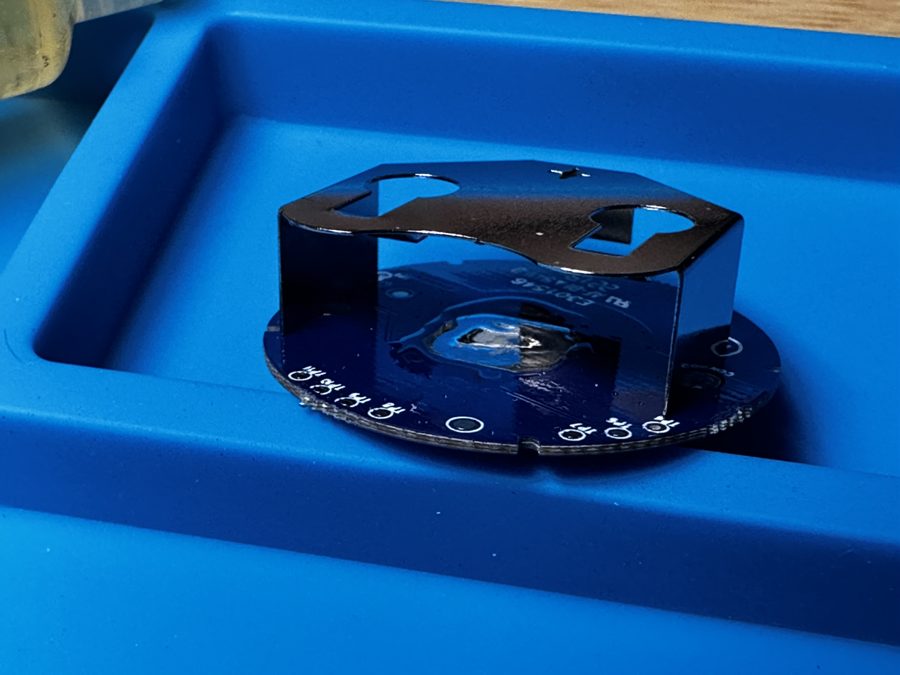
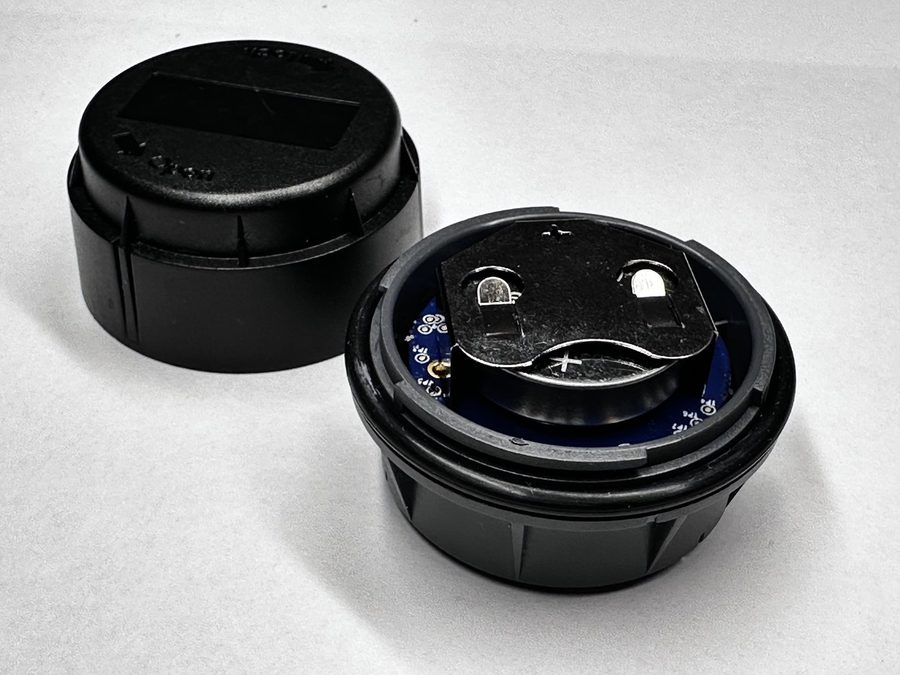
Close the casing
Fit the O-ring, put the lid on, and twist toward Lock (the arrows are molded into the lid). The radar looks out through the bottom of the puck.
Builder tip: the board stack can sit a little loose inside the casing. A small piece of foam between the boards and the lid keeps it pressed flat against the bottom of the puck, which is where the radar looks out, so the sensor stays aimed straight down.
Mount on top of the tank
Clean a flat spot on the top of the tank, away from edges, ribs, and internal baffles, and mount the puck radar-side down (VHB tape or a strap). The spot matters: a rib or baffle under the sensor will confuse the reading, so if the level looks wrong, try a different position.
Optional printable mount. If you have a 3D printer, there's a snap cradle that fixes to the tank (VHB tape or a strap through the base) and holds the puck radar-side down so you can pop it out later. Print the one that matches your lid, since the flat and lens lids sit at slightly different heights. PETG or ASA holds up best against tank heat and sun; PLA is fine indoors.
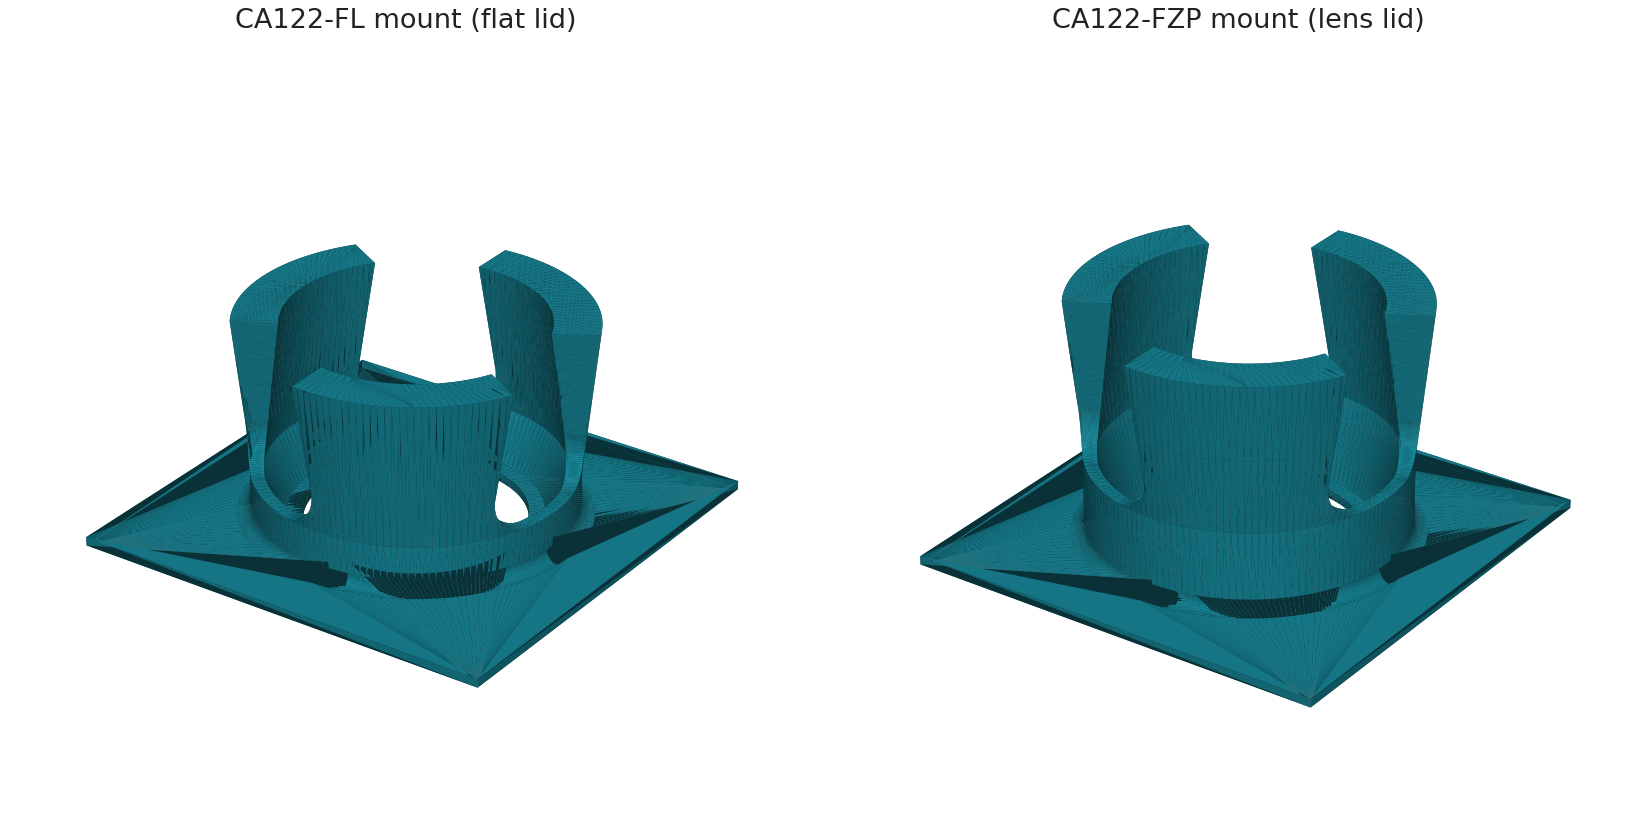
Download STL: CA122-FL mount (flat lid) · CA122-FZP mount (lens lid).
Test the placement, then calibrate
Good to know for testing: for the first 10 minutes after power-up the sensor measures every 10 seconds, so readings react quickly while you find the right spot and calibrate. After that it settles to one measurement per minute, indefinitely, to preserve the multi-year battery life. Need fast readings again later, say after moving the sensor? Re-seat the battery and you get another 10 minutes of 10-second updates.
In Boardstrom, open the sensor under Settings → Devices, give it a name, and set the empty and full distances — either type them or tap Use now at a known level. The tile on the Live page then shows your fill percentage, with the sensor's own battery level in the corner.
Already run a Cerbo GX? The tanks can show up there too.
To be clear first: the sensor needs no hub. It talks straight to the Boardstrom app on your phone. But if your boat or van already has a Victron GX device (Cerbo GX, Ekrano GX, or Venus OS on a Pi), a free beta driver puts the same tanks on it as native Victron tanks: on the GX Touch display, in the Remote Console, in VRM, and over MQTT, right next to your batteries and solar.
Install it from the GX UI with the community PackageManager: add package BoardstromTank, GitHub user pacificmeister, tag latest. Calibration happens on the GX's own tank Setup page, the same way a Mopeka sensor is set up, and the app keeps working alongside since the sensor just broadcasts to everyone. Full instructions, a one-line SSH alternative, and the driver source are at github.com/pacificmeister/BoardstromTank.
FAQ
Which tanks does it work on?
Plastic and fiberglass tanks: fresh water, grey water, black water. It reads through the wall, so the tank stays untouched. Metal tanks block radar, so they're out for the no-hole approach.
How deep a tank can it read?
Down to about 3 m with firmware beta.6 or later. The sensor always runs its precise near sweep first (3 cm to 1 m, tuned for the 10 to 40 cm tanks in RVs and boats) and only when that finds no surface does it run a far sweep to about 3 m, so shallow tanks lose nothing. The app shows "far range" on the tile while the far sweep is providing the reading. Firmware up to beta.5 stops at 1 m; re-flash to go deeper.
How long does the battery last?
Years, not months: the sensor measures about once a minute and sleeps in between. The app shows the cell's state on the tile and warns when it's getting low. Replacing it costs $3 and a minute.
Does it work with a Victron Cerbo GX?
Yes, optionally (beta). The sensor talks to the Boardstrom app directly over Bluetooth, no hub needed. But if you have a Cerbo GX or other Venus OS device, a free driver shows the tanks there too: GX display, Remote Console, VRM, and MQTT. See the section above, or github.com/pacificmeister/BoardstromTank.
Can I make it update faster?
The sensor measures every 10 seconds for the first 10 minutes after the battery goes in, then once a minute for the life of the battery. Want fast readings again later, say after moving the sensor or to watch a tank fill? Pop the battery out and back in for another 10 minutes of 10-second updates. (Firmware beta.3 and beta.4 had an app-triggered Boost mode; it was removed in beta.5 to keep the sensor simple and robust.)
Do I need to solder anything?
No connections to solder; everything snaps together. One known exception: the XA122's center battery pad can come from the factory as bare, untinned copper, which makes poor contact with the cell (the sensor won't start). Tinning that pad takes a soldering iron and a minute; see the note in assembly step 2. You also need a computer for the one-time firmware flash.
Is this a finished product?
It's a DIY project in beta: you buy Acconeer's own certified radar hardware and flash our free firmware onto it. It's the same sensor design we run on our own tanks. A ready-made Boardstrom sensor is in development.
Where do I get help or show my build?
r/boardstrom — builds, questions, and firmware updates land there first.
Get the app, then build the sensor
The sensor needs the free Boardstrom app to display and calibrate. Your first device works on the free tier.